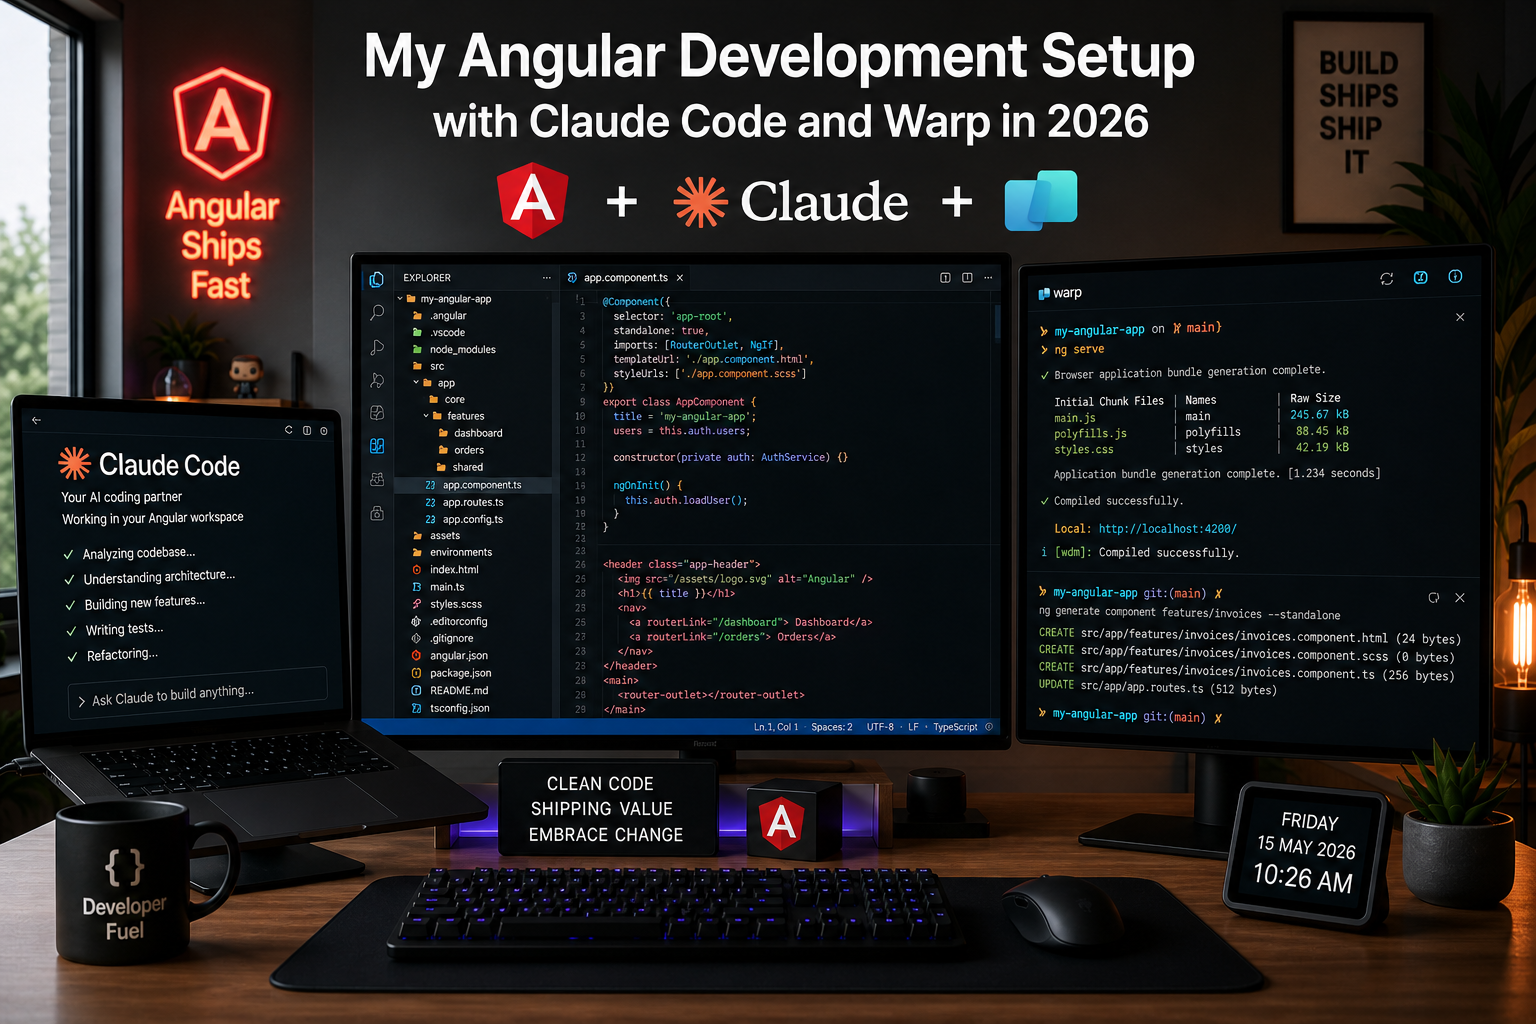
My Angular Development Setup with Claude Code and Warp in 2026
I’ve been a software engineer for over 15 years, and Angular has been my main tool for most of that time. I’ve seen NgModules come and go (well, almost), watched RxJS go from magic to “please use signals instead,” and shipped more enterprise dashboards than I can count.
And then Claude Code and Warp changed how I actually work, day to day.
This isn’t a hype post. I’m going to show you my exact setup — the real files, the real commands, and crucially, where it fails and how I handle it.
The problem with generic AI in Angular projects
If you’ve tried dropping Claude or Copilot into an Angular project without any configuration, you’ve probably seen this:
- It generates
*ngIfand*ngForinstead of the modern@if/@forcontrol flow - It uses constructor injection instead of
inject() - It reaches for
BehaviorSubjectwhen you want Signals - It creates NgModule-based components when you’re fully standalone
- It runs
ng test(the whole suite) when you wanted a single spec
The AI isn’t dumb. It just doesn’t know your project. That’s fixable.
Part 1: The CLAUDE.md file — giving Claude a map of your codebase
CLAUDE.md is a file you place at the root of your Angular project. Claude Code reads it automatically at the start of every session. Think of it as onboarding a new senior developer — you explain the stack, the conventions, and the non-negotiables. Once.
Run /init inside Claude Code to auto-generate a starter based on your project structure. Then trim it aggressively — keep it under 80 lines. Every line consumes context window tokens.
Here’s the CLAUDE.md I use for a typical Angular 20 project:
# My Angular App

## Stack
- Angular 20 (standalone components only — NO NgModule)
- TypeScript 5.5 (strict mode)
- RxJS 7 (HTTP only — NOT for state)
- NgRx SignalStore for state management
- Tailwind CSS 4
- Vitest + Angular Testing Library

## Non-negotiable rules
- ALWAYS use `inject()` — zero constructor injection
- ALWAYS use `input()` / `output()` — zero `@Input()` / `@Output()` decorators
- ALWAYS use `@if` / `@for` — zero `*ngIf` / `*ngFor`
- ALWAYS `ChangeDetectionStrategy.OnPush` on every component
- State lives in signal stores — zero `BehaviorSubject` for local state
- After generating code, run `ng build` and fix ALL errors before finishing

## Folder structure
src/app/
  core/        → guards, interceptors, app-level services
  features/    → feature-driven folders (each has components/, services/, store/)
  shared/      → reusable UI components and pipes

## Test commands
- Single spec: `npx vitest run src/app/features/auth/auth.service.spec.ts`
- Never run the full suite during development
That’s it. Under 50 lines. And Claude’s output changes dramatically — it now writes code that actually matches your project.
The key insight: CLAUDE.md isn’t a “set it and forget it” file. When Claude makes a consistent mistake, the fix belongs in CLAUDE.md, not in a repeated correction every session.
Part 2: The official Angular Agent Skills
Beyond CLAUDE.md, the Angular team now maintains an official collection of Agent Skills — specialized, domain-specific instructions designed exactly for AI agents like Claude Code. These are regularly updated to stay in sync with the latest Angular conventions, including Signals, the new reactivity model, and modern project structure.
You can find them at angular.dev/ai/agent-skills.
There are two official skills:
| Skill | What it does |
|---|---|
angular-developer | Generates Angular code and provides architectural guidance — components, services, reactivity (signals, linkedSignal, resource), forms, DI, routing, SSR, a11y, animations, testing, CLI |
angular-new-app | Creates a new Angular app using the CLI with modern setup guidelines |
Install them with:
npx skills add https://github.com/angular/skills
This uses skills.sh, a community tool the Angular team recommends. It places the skill files in the correct location for Claude Code to auto-discover them.
The angular-developer skill works as an orchestrator — it only loads the relevant sub-context for each task. When you’re building a component, it loads component patterns. When you’re working on forms, it loads reactive forms guidance. This keeps token usage lean rather than dumping the entire Angular API surface into every prompt.
The combination with CLAUDE.md is important to understand:
- The Angular skill handles framework-level rules — modern APIs, signal inputs,
@if/@for,inject(), OnPush. You don’t need to repeat these in CLAUDE.md. - Your CLAUDE.md handles project-level decisions — your specific folder structure, your state management choice (NgRx SignalStore vs. others), your test runner (Vitest vs. Jest), your team’s conventions.
Think of it as layers. The skill gives Claude a foundation in modern Angular. Your CLAUDE.md tells it how your project is different from the default.
Part 3: Warp — is it replacing VS Code?
This is the question I get most when I mention my setup. Short answer: it depends on how you work, but it’s closer than you think.
Warp started as a terminal. In 2026 it describes itself as an “Agentic Development Environment” — combining a terminal, a built-in code editor, AI agents, and Warp Drive (shared context for teams). The philosophical shift is important: as Warp’s CEO put it, in a world where developers write less code by hand, an interface built for hand-editing code starts to feel like the wrong abstraction. Warp is betting the primary interface becomes “where you direct and review AI-generated code,” not “where you type code.”
What Warp can do that replaces VS Code
Built-in code editor with LSP support. As of February 2026, Warp ships a native code editor with Language Server Protocol support, syntax highlighting, a file tree, find and replace, Vim keybindings, and tabbed file viewing. You open a directory with warp . from the command line and start editing. For Angular, this means TypeScript autocomplete, error underlining, and go-to-definition all work inside Warp.
Code Review panel. When Claude Code or Warp’s agent generates a diff, you review it inline — not in a separate tool. You can add comments directly on lines of the diff, and Warp sends those comments back to the agent as context. This is the feature that most reduces the need to context-switch to VS Code.
Global file search. CMD+F / CTRL+SHIFT+F opens a search across your entire current directory. For an Angular monorepo, this is the “find all usages of this service” flow without leaving Warp.
Linked code blocks. When Claude Code references a file in conversation, Warp now shows the file path and line number as a clickable link — click it to open directly in the built-in editor. No more copying a path, switching to VS Code, and searching for it.
How I actually interact with Warp day to day
The core interaction model is different from VS Code. Instead of opening a file and editing it, you’re mostly:
1. Using the universal prompt input. A single input at the bottom accepts both shell commands and natural language. Type ng build and it runs. Type “why is this build failing?” and the agent reads the error output and explains it. You don’t switch modes — it’s the same input.
2. Attaching context with @. You can reference files, URLs, or images directly in your prompt with @filename. For Angular work this looks like: "Refactor @src/app/features/auth/auth.component.ts to use signal inputs instead of @Input() decorators". The agent reads the file, makes the changes, and shows you a diff.
3. Reviewing blocks, not scrolling logs. Warp groups each command and its output into a “block” — a self-contained unit you can collapse, copy, or share. After ng build, the TypeScript errors are a block you can forward to the agent: “Fix these errors.” No scrolling, no copy-pasting from a terminal wall of text.
My two-tool reality
I’ll be honest: I still keep VS Code open. For complex multi-file refactors across 20+ files simultaneously, Cursor’s IDE-native diff view is still better. But for the day-to-day Angular workflow — building a feature, running builds, reviewing agent-generated code, running tests — I’m in Warp about 80% of the time.
The tipping point for me was realizing I wasn’t editing code by hand much anymore. I’m reviewing, directing, and iterating. Warp is built for that. VS Code is built for the other thing.
YAML Workflows — saving your Angular commands
Warp lets you save parameterized commands as YAML files and trigger them instantly from the command palette. Here’s the one I use most:
# .warp/workflows/ng-feature.yaml
name: Generate Angular Feature
command: ng generate component features/{{feature}}/components/{{name}} --inline-template=false --change-detection=OnPush
description: Scaffold a new component in the correct feature folder
To run it: hit CTRL+SHIFT+R, type the workflow name, hit ENTER, then SHIFT+TAB to cycle through each {{argument}} placeholder. That’s it.
Two locations matter: personal workflows go in ~/.warp/workflows/ — only you see them. Project workflows go in .warp/workflows/ inside the repo — every dev who clones the project gets them automatically. Always use the repo path for Angular team projects.
Part 4: Running multiple agents in parallel — the Angular superpower
This is the feature that changes how you think about development entirely, and most people don’t discover it until they’ve been using Warp for months.
In a classic setup — VS Code + a terminal — you have one thing running at a time. Build is running, you wait. Tests are running, you wait. Agent is generating code, you wait.
In Warp, you can run Claude Code, Codex, Gemini CLI, and other agents side by side — each in its own tab, each working on a different task, in isolated Git worktrees so their changes never conflict.
For Angular development, here’s what that looks like in practice:
The setup: Vertical Tabs give each agent its own panel in a sidebar — you can see the title, working directory, Git branch, and a notification dot that lights up when an agent has finished or needs your attention. You glance at the sidebar, not context-switch between windows.
A real Angular parallel workflow I run:
- Tab 1 — Feature agent: Claude Code building a new dashboard component, following CLAUDE.md
- Tab 2 — Test agent: A separate Claude Code session writing specs for the feature I finished yesterday
- Tab 3 — Terminal:
ng serverunning the dev server, watching for build errors - Tab 4 — Build watcher:
npx vitest watchrunning affected tests as files change
All four are live simultaneously. The task pane shows all running agents — you can view plans, progress, and results live without interrupting other tasks. When Tab 1 finishes, the notification dot appears and I review the diff. While I’m reviewing, Tab 2 keeps writing tests.
Git worktrees are the key. Each agent works on its own branch in its own worktree — there’s no file conflict between the feature agent and the test agent because they’re literally in different directories. Warp handles the worktree creation from the new tab menu.
Tab Configs — saving your Angular workspace. If you regularly work with the same multi-agent setup, save it as a Tab Config so you can recreate it with one click. My Angular Tab Config opens all four tabs above, with the right directories and startup commands, every time.
One more trick: You can run the same task in different worktrees with different agents and compare their approaches — open the Code Review panel in each tab to see their diffs side by side. I’ve done this for complex Angular architecture decisions: Claude Code and Codex each take a crack at the same signal store design, and I pick the better approach. Takes 10 minutes instead of an hour of deliberation.
This is the part of Warp that’s genuinely hard to explain without seeing it. The screenshot I’d include here — four vertical tabs, each with a different agent or terminal session, all running — is worth more than anything I can write.
Part 5: Agent Mode for Angular build analysis
Warp’s Agent Mode lets you describe what you want in plain English and have an agent run terminal commands to do it. This is different from Claude Code — it’s more suited for multi-step terminal workflows.
Example prompt I use:
“Run the Angular build, capture any TypeScript errors, and group them by feature folder. Show me which folder has the most errors.”
Warp runs ng build 2>&1, parses the output, and gives me a structured breakdown. Before this, I’d be piping output to grep and manually counting.
Another one I reach for regularly:
“I’ve just merged main into my feature branch. Run the build, run affected tests, and summarize what’s broken.”
This is not magic. But it saves the 15-minute context-switching overhead of doing it manually.
Part 6: Where it breaks — and what to do about it
This is the part most posts skip. Here’s what Claude still gets wrong in Angular projects, and how I handle each one:
Change detection edge cases
Claude generates OnPush everywhere (good), but sometimes misses that you need to call markForCheck() after async operations that Angular’s zone doesn’t know about. I added this to my CLAUDE.md:
After any setTimeout, Promise.resolve, or third-party callback,
call markForCheck() if using OnPush.
Architecture at scale
Claude builds features correctly in isolation, but it doesn’t naturally maintain cross-feature boundaries. If you have a UserStore in your auth feature, Claude might reach for it from a dashboard feature instead of going through a facade or shared service. This requires a prompt discipline, not a CLAUDE.md fix. I always tell it: “Don’t import from other feature folders directly.”
Test generation
Claude writes tests that compile but test implementation rather than behavior. It’ll test that ngOnInit was called, rather than that the component renders the right data. I’ve added this to CLAUDE.md:
Tests must use Angular Testing Library.
Test user-visible behavior, never internal implementation details.
The 80/20 rule
Claude Code + Warp gets me to ~80% on most features. The last 20% — the tricky state sync, the animation edge case, the performance optimization — still requires me to think. That’s fine. That’s the interesting part of the job.
My actual morning workflow
To make this concrete: here’s what I actually do when starting a new feature at work.
- Open Warp, navigate to the project
- Run my
claude-featureworkflow with the feature name - Claude reads CLAUDE.md, scaffolds the feature folder, generates components and a signal store, runs
ng build, fixes its own TypeScript errors - I review the diff in Warp’s interactive code review panel
- Leave a comment on anything that looks off — Warp sends it back to Claude
- Run the single-spec workflow to verify tests pass
- Commit
What used to take me 2–3 hours of typing and context-switching now takes 45 minutes — and the scaffolding part is maybe 20 of those minutes, mostly spent reviewing rather than writing.
Getting started in 30 minutes
If you want to try this today:
- Install Warp from warp.dev (free tier is fine to start)
- Install Claude Code:
npm install -g @anthropic-ai/claude-code - In your Angular project, run
claude /initto generate a starter CLAUDE.md - Trim the CLAUDE.md to under 80 lines — keep only the things Claude would get wrong without them
- Install the official Angular skills:
npx skills add https://github.com/angular/skills - Create a
.warp/workflows/folder and add one workflow for your most commonng generatecommand - Run it
That’s the foundation. Everything else is iteration.
What’s next
I’m going to keep documenting this workflow — the wins and the failures. Next post I’ll cover how I set up Warp Cloud Agents to run Angular builds automatically on PR, and how I use the Angular CLI MCP Server (also at angular.dev/ai/mcp) to give Claude Code direct access to Angular CLI commands without leaving the agent loop.
If you try this setup, let me know what breaks. That’s usually the most useful post to write next.
Follow me on Twitter/X or read more at salimchemes.com