Integrating Gemini CLI with Angular for AI-Powered Development
The Gemini CLI is a powerful tool that can assist developers in their daily tasks. When combined with Angular, it can be used to generate code, explain concepts, and much more. However, to get the most out of Gemini, it’s crucial to provide it with the right context about your project. This post will guide you on how to set up your Angular project to provide the best possible context to Gemini, based on the recommendations from the official Angular documentation.
Providing Context to the LLM
The key to getting accurate and relevant responses from any LLM is to provide it with as much context as possible. The Angular team has proposed a set of conventions to help with this. You can find more details in the official Angular documentation on developing with AI.
llms.txt
You can create a llms.txt or llms-full.txt file in the root of your project. This file should contain a high-level overview of your project’s architecture, goals, and any other relevant information that would help an LLM understand your codebase.
best-practices.md
This file should contain a set of best practices and coding conventions that you follow in your project. This will help the LLM generate code that is consistent with your existing codebase.
IDE-specific Rules
You can also provide IDE-specific rules files to further guide the LLM. These files can be named airules.md, copilot-instructions.md, guidelines.md, or .instructions.md. These files can contain more specific instructions for the LLM, such as how to handle certain file types or how to format the generated code.
Angular CLI MCP Server
The Angular CLI has an experimental Model Context Protocol (MCP) server that allows AI assistants to interact with the CLI. This can be used to provide even more context to the LLM, such as the project’s file structure and dependencies.
You can start the server by running the following command:
ng mcp
Then, you need to configure your AI assistant to use this server. For the Gemini CLI, you can create a mcp.json file in your project’s root with the following content:
{
  "command": ["npx", "@angular/cli", "mcp"]
}
This will instruct the Gemini CLI to use the Angular CLI MCP server for context. You can find more information on how to configure other IDEs and tools in the official Angular documentation.
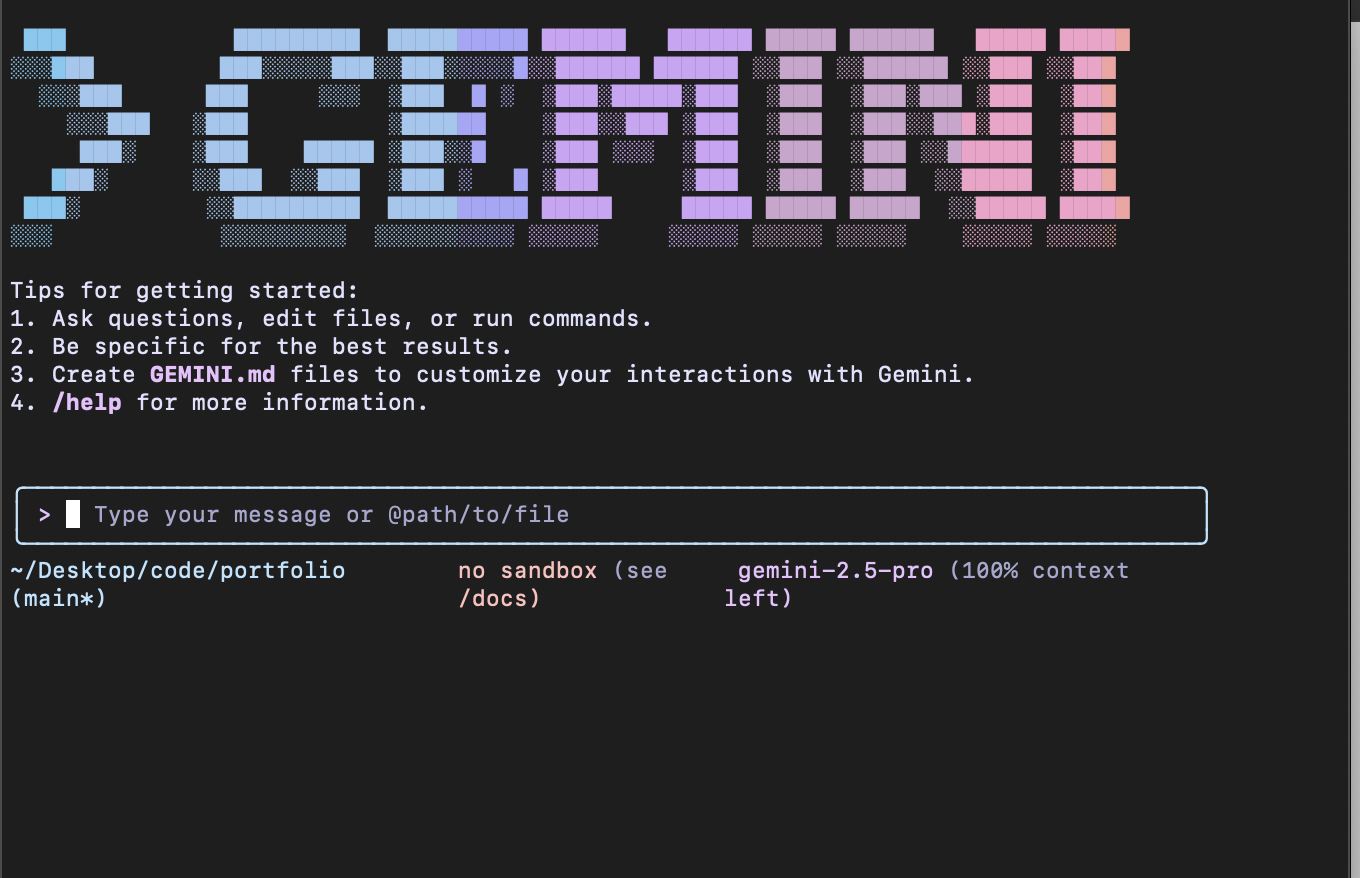
Running the Gemini CLI
To start using the Gemini CLI, you first need to install it. You can do this by running the following command in your terminal:
npm install -g @google/gemini-cli
Once installed, you can start the CLI by running:
gemini
Gemini Free Tier
Google offers a free tier for the Gemini API, which is great for getting started and for development purposes. The free tier provides access to models like Gemini 1.0 Pro and Gemini 1.5 Flash with certain usage limits. For example, the free tier for Gemini 1.5 Flash allows for up to 1,500 requests per day. You can get started and generate an API key from Google AI Studio.
Conclusion
By following the recommendations from the Angular documentation, you can significantly improve the quality of the code generated by Gemini and other LLMs. This will not only save you time but also help you maintain a consistent and high-quality codebase.
This blog post was generated entirely by an AI assistant using prompts. All the information and code examples were created by the AI based on the provided instructions.